An engagement file is where you collect, organise and review all your client's financial information. When you're ready to begin a client engagement, there are several ways you can create an engagement file from Cloud:
Answer:
Option 1 - To create an engagement file from the Engagements application and select ISRS Agreed Upon:
- From the Cloud menu, select Engagements.
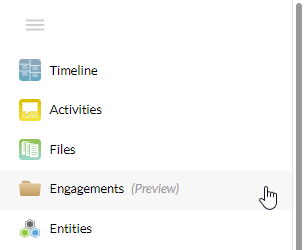
- From the Engagements menu, select the new button.
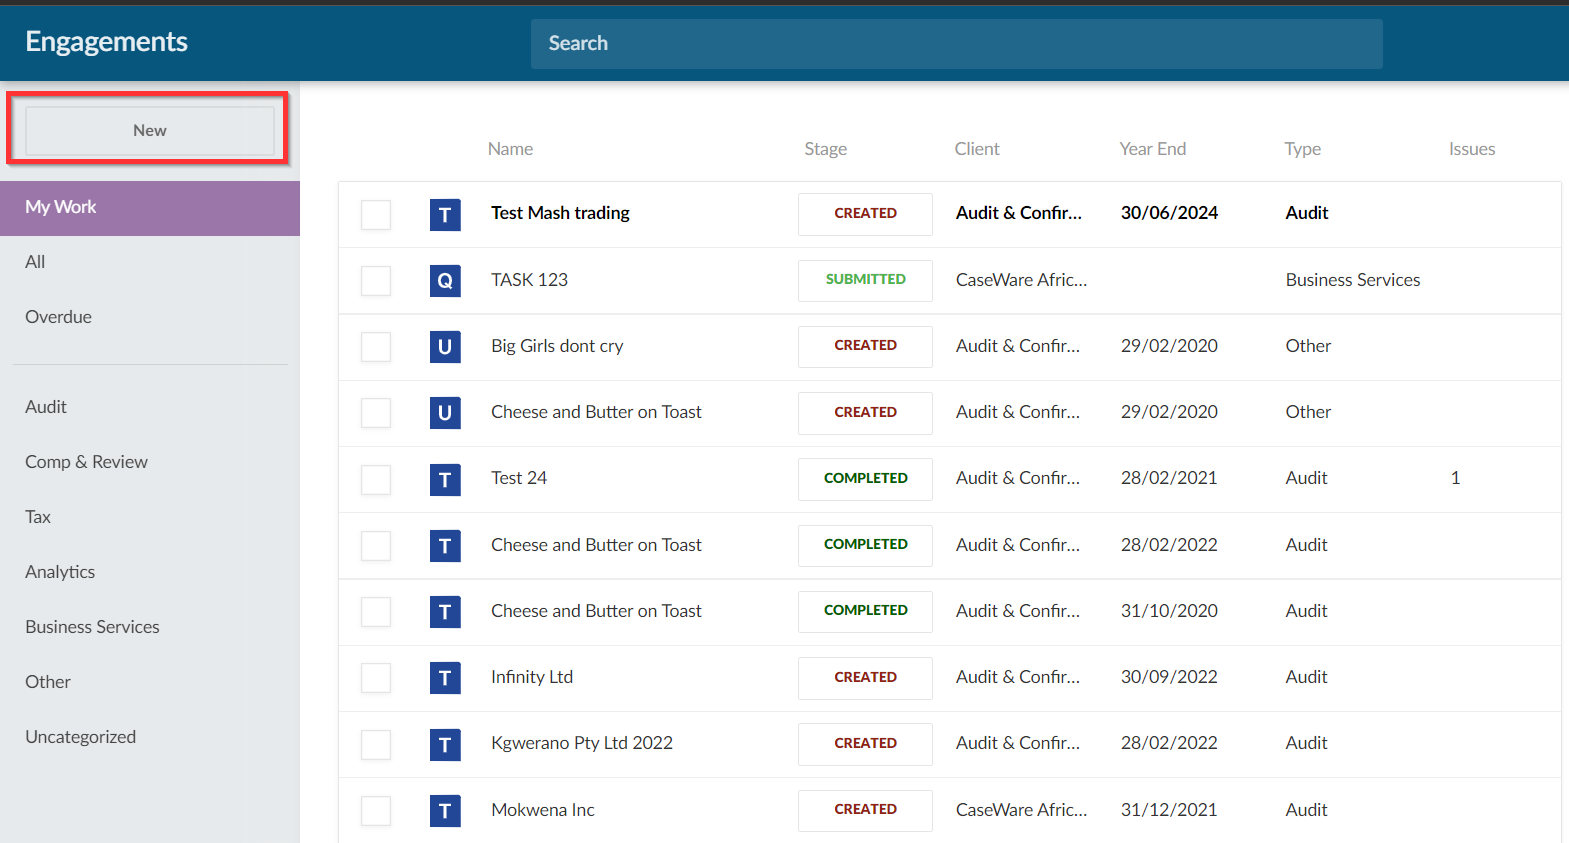
- In the New Engagement dialog, select the ISRS Agreed-Upon option.

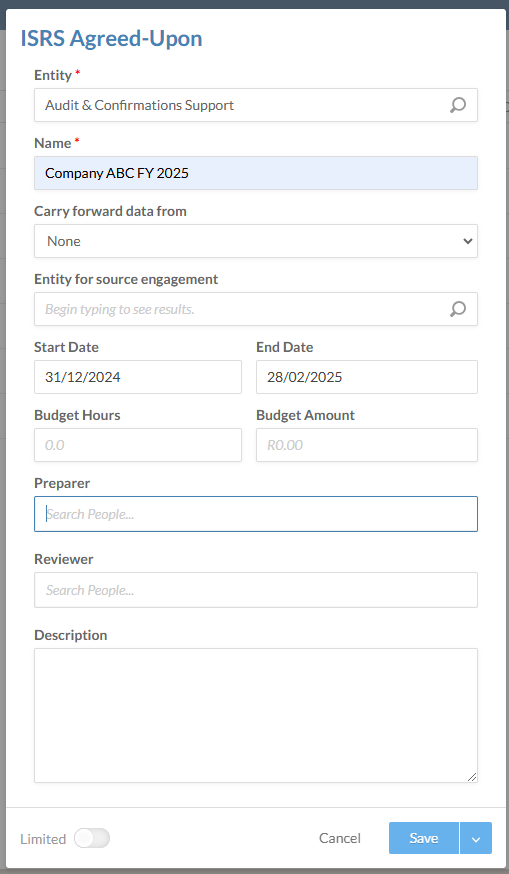
- In the next dialog, choose your client entity and enter the name for the engagement file. You can also select the start date and end date for your engagement and enter budget information.
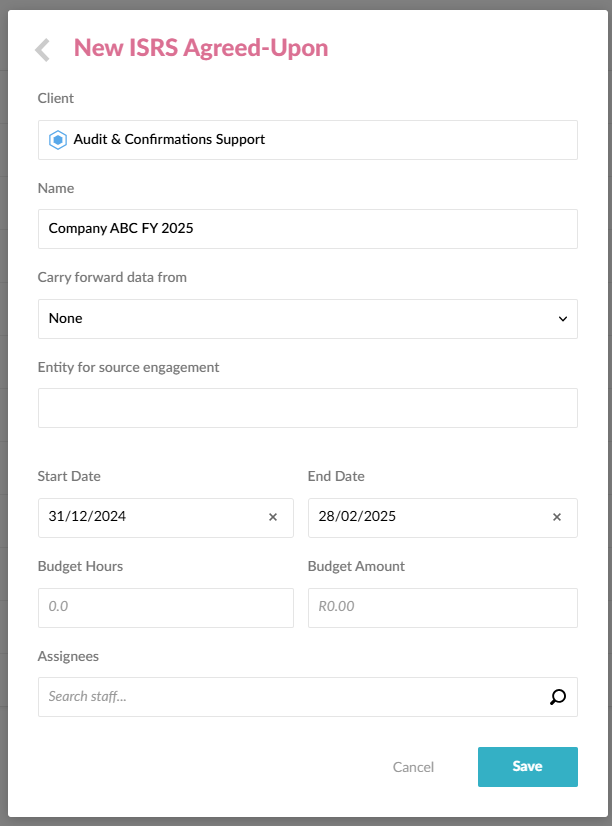
- Click on Save.
You have created the new engagement file for your client. Once the file is created, it is automatically opened in a new tab in your browser.
Option 2 - To create an engagement file from the ISRS Agreed Upon application:
- From the Cloud menu, click on the ISRS Agreed Upon application icon.
- From the Home Screen click on the new button located top left. Proceed to complete the form accordingly.
- As with any engagement, complete the Engagement Properties. The data used in this screen is used throughout the engagement. This saves time as there is one source of truth. Once you have verified the information, change the workflow to “Accepting”.
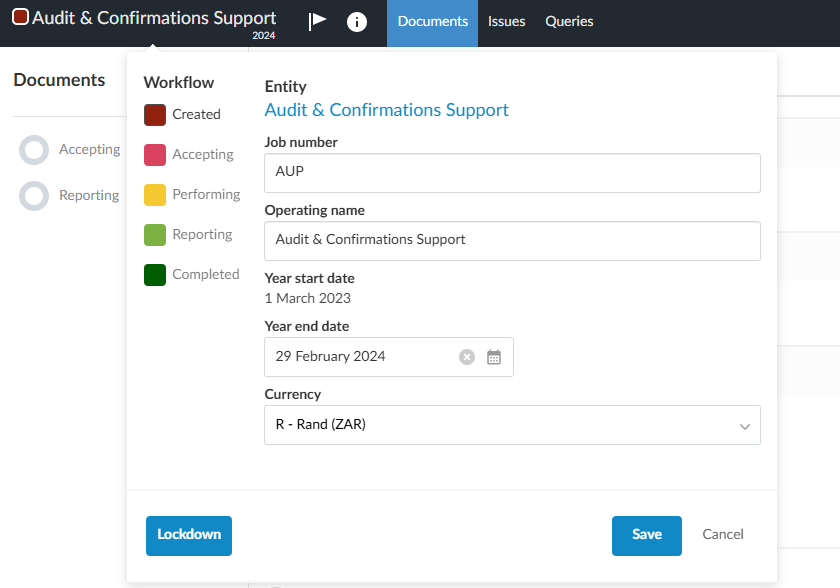
Set the engagement properties
When you first open a new Smart Engagement, the engagement properties pop-up is displayed automatically. You can set some high-level properties for your engagement before you begin to work on it.
To set engagement properties:
You can open the Engagement Properties dialog by selecting the entity name. In this popup, you can set the following properties:
- Workflow stage - select a stage for the status of the overall engagement work.
- Job Number - Enter your firm’s job number for this engagement.
- Operating Name - This field shows the Cloud entity name by default. You can change the default and enter a different name.
- Year-End Date - Choose a year-end date for this engagement.
- Currency - Select the currency for this engagement.
The Engagement Properties dialog also features the following buttons:
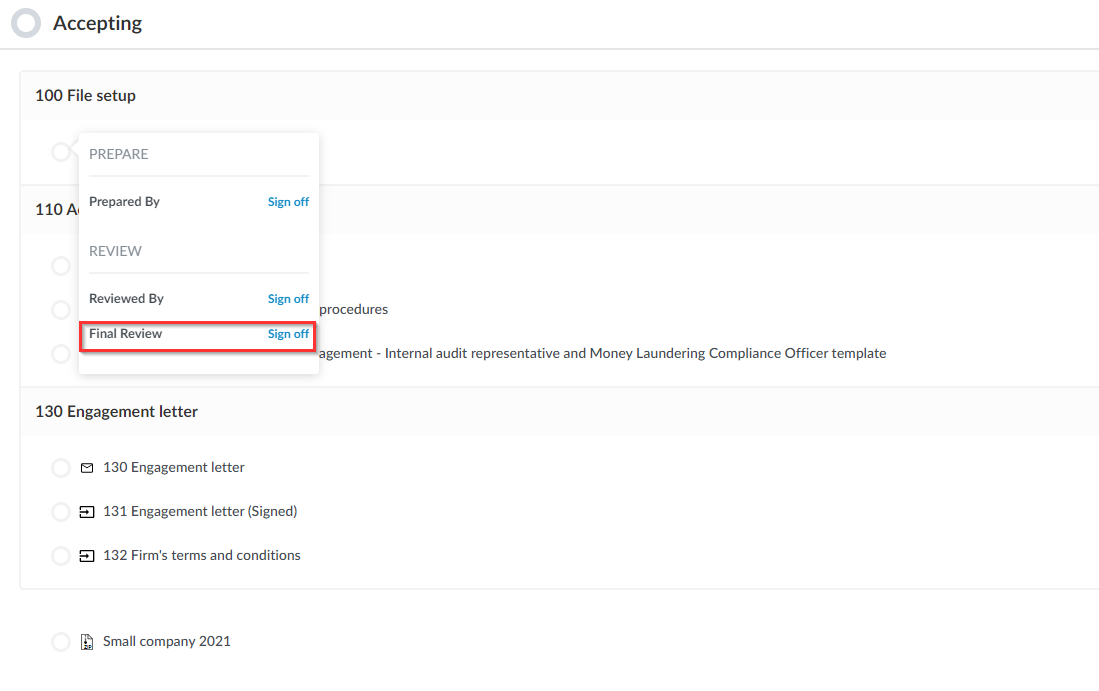
- Second Reviewer - Select to add a second reviewer for all sign-offs. This adds a Final Review to all sign-off options.
- Consolidate - Select to create a consolidation engagement.
- Lockdown - select to lock the engagement file, once all the work is complete. To learn more, see Lockdown the Engagement.
Once you have finished updating the properties for your engagement, select the Save button.
Rate this article:
|vote=None|
Processing...
(Popularity = 3/100, Rating = 0.0/5)
Related Articles
How to create a new file for your firm template
ISRS Agreed Upon | How to set deadlines and budgets for a new ISRS Agreed Upon engagement
ISRS Agreed Upon | How to manage the engagement documents
ISRS Agreed Upon | How to roll forward an engagement
view all...
Search Results
User Profile for Bank Users Set Up
ABSA Corporate Bank South Africa Audit Confirmation Instructions
RMB Investment and Corporate Banking South Africa Audit Confirmation Instructions
Nedbank Commercial Banking Audit Confirmation Instructions
ABSA Business Banking South Africa Audit Confirmation Instructions
view all...