If you selected one of the templates from your engagement file, the client request will already contain one or more queries recommended by the author. If you created a blank client request, you can customise the request based on the information you need.
Answer:
Each client request document has a Guidance section at the top. You can use these guidance sections to include some help for your client contact, giving them instructions on how to fill out the client request, or providing context for the questions that you are asking.
At the top of the document, select the text field. Enter the guidance content for the document, and select the space outside the query once you are finished.
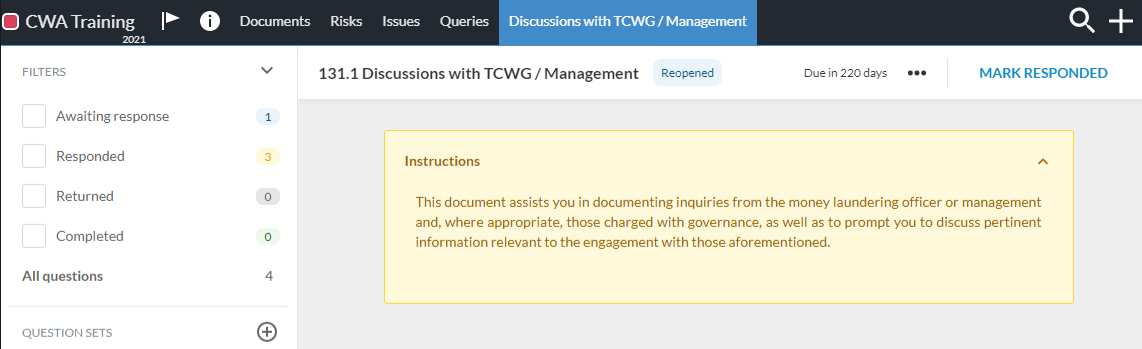
The guidance text is added to your document.
- In client request and checklist documents, all of the document content is contained in one or more groups.
- To add a group to a document:
- To add a group to your document, select + Group.
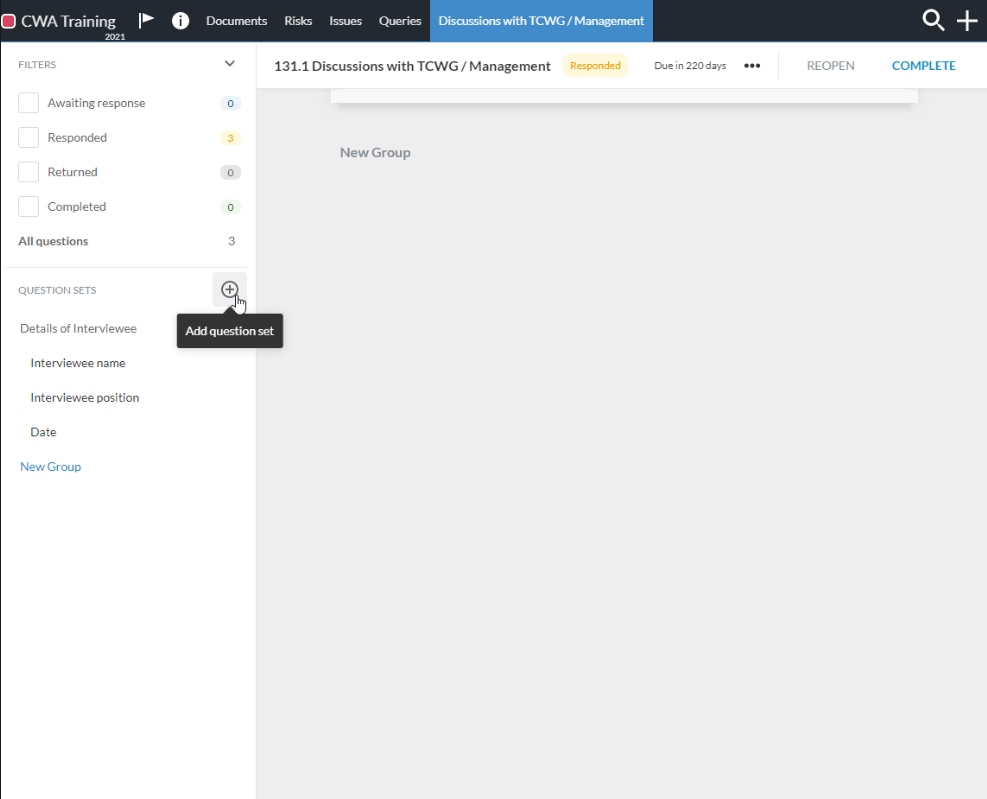
The group will be named New Group by default. You can change the name by selecting it and entering new text.
Once your document has a group, you can add one or more queries. A query is a question for the client or a task to be completed as part of the engagement work. Each query has two parts:
- Description - the question or request for the client.
- Response - the field for the client to enter information or provide a file.
- To add a query to your document, select + query.
- A blank query is added to your document. This query description is New query, and the default response is Upload Files.
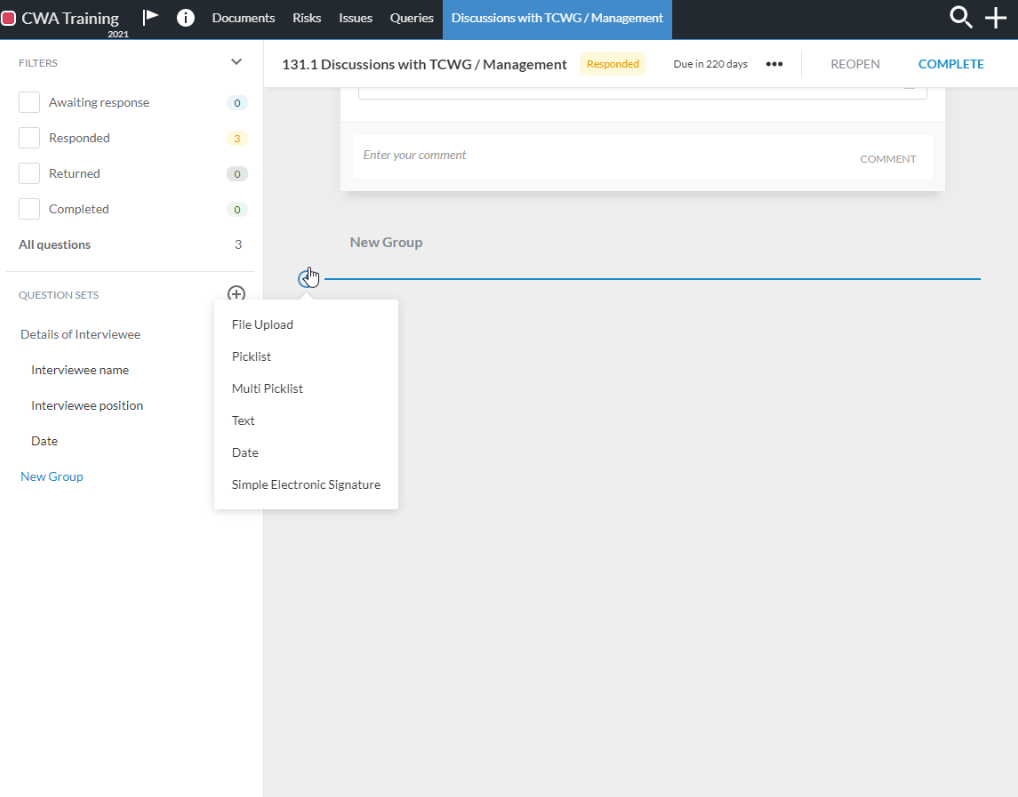
Once you have added all the queries you will need for this client request, you can modify each of them to create a framework for the contact to answer your questions.
There are a few things that you can do to modify queries in your client requests:
- Add a summary - Select the summary field above the description field to enter a name or a short description for the query.
- Change the response type - Select the more actions icon, then choose Settings to open the query Settings dialog. You can select a different response type in the settings dialog:
- Manual - the client will enter information into a text box.
- Picklist - the client will choose one answer from a list of choices.
- Multi-Picklist - the client will choose one or more answers from a list of choices.
- Upload Files - the client will attach a file to the engagement.
- Date - the client will select a date from a popup calendar.
- Entity Information - display information about the client entity.
- Contact Information - display information about a client contact.
- Simple Signatures - This response type allows users to upload documents that require client signatures, such as engagement terms, and send them to clients to accept electronically.
- Add a description - Select the description field to change the query description. Once you select the field, the formatting toolbar displays. You can use the toolbar to make the following updates:
|
Toolbar icon
|
Description
|
|

|
Bold, italicise or underline selected text.
|
|

|
Remove all formatting for a selected text or a paragraph and revert to the default.
|
|

|
Add a bullet or number list
|
|

|
Indent selected text or paragraph.
|
|

|
Align selected text or paragraph.
|
|

|
Add or remove a link.
|
|

|
Add data links.
|
|

|
Add a table
|
You can add links to a URL, an email or a phone number.
- Open the document and select Edit, then select Add link and enter the following information in the Link Info tab:
- Display Text - the selected text is the default Display text for the link. If you haven’t selected text, enter the Display Text in this field.
- Link Type - select a type from the drop-down list. Based on your selection, the dialog displays different sets of fields that you need to specify:
|
Link type
|
Fields
|
|
URL
|
· Protocol - select the link protocol (http, https, ftp, news or other)
· URL - enter the URL
|
|
Email
|
· E-mail address - enter the email address
· Message Subject - enter a subject for the email message
· Message Body - enter the email message body
|
|
Phone
|
Phone number - enter the phone number
|
- In the Target tab, select where you want the link target to open. The default is in a new browser window.
- You can also enter more information in the Advanced tab. Note that if you add a link to a file download, you can select the Force Download check box in this tab so the file download starts once the user selects the link.
- Once you’re done, select OK.
- To remove a link in a text section, select the link text then select Remove Link .
· Data links allow you to have already existing information in the engagement or in Cloud automatically retrieved and inserted in text sections.
· The following data links are available:
|
Engagement properties
(from Cloud)
|
Engagement properties as defined in Cloud, such as:
· Operating name
· Legal name
· Year-end date
· Year start date
· Current Year
· Website
· Prior Year
· Entity address
|
|
Trial balance (from the engagement)
|
Items in the trial balance such as, account name, grouping name, or values from the current or prior year.
|
|
Firm properties
(from Cloud)
|
Firm name
Firm address
|
|
Responses
(from the engagement)
|
Responses to procedures from checklists. Once you select a checklist document from the list, select the response you want to retrieve and insert in the text section.
|
|
Materiality
(from the engagement)
|
Defined values in the Materiality document.
|
|
Dynamic text
|
Dynamic text is conditional text. It’s a field where different text displays based on a condition or a set of conditions.
See Add dynamic text.
|
|
Forms Value
|
Insert the value of a specific form field. Once you select a form and a field, the value of the selected field is inserted in the text field.
Note: This option is only available in the Data Link dialog if custom forms are available in your product, such as Tax forms.
|
|
Note: You can only add dynamic text if you are customising the firm template. To access the firm template, you must have the Settings
|
|
Admin role or similar. See Manage the Firm Template for information on how to open and edit the firm template.
|
1. Open the document and select Edit.
2. Go to where you want to add a formula in the text.
3. Select Add Data Link from the toolbar.
4. At the Dynamic Text tab, select the Add Condition drop-down list.
Different setup details display in the Data Link dialog based on the condition you choose:
|
Condition type
|
Condition setup
|
|
Response
|
· Document - select the source document for the response
· Procedure - select the procedure for which the response is provided
· Condition - select the value of the response
· Output - select the text to be displayed when the condition is met
|
|
Trial balance
|
· Financial Group - select the trial balance account or account group
· Condition - select how the name of the Income Statement displays based on the value of Net Income in the trial balance
o Consistent → name displays as "Statement of Income"
o Contrary → name displays as "Statement of Loss"
o Inconsistent → name displays as "Statement of Income (Loss)"
· Output - select the text to be displayed when the condition is met
|
|
Consolidation
|
· Condition - select the consolidation situation (Consolidated, Non-consolidated)
· Output - select the text to be displayed when the condition is met
|
|
Reporting period
|
· Condition - select the value of the reporting period (Monthly, Quarterly, Semi-Annual, Annual)
· Output - select the text to be displayed when the condition is met
|
|
Organisation type
|
· Condition - select a country
· Output - select the text to be displayed when the condition is met
|
|
Group of conditions
|
· Select this option if you want to add a group of conditions, where the text output is based on how the conditions in the group are collectively evaluated
· Group Condition - select one of the following values:
· When all conditions below are met -> all conditions must be true for the Group Condition to be met
· When any condition below is met -> any condition must be true for the Group Condition to be met
· Output - select the text to be displayed when the Group Condition is met
|
|
Form Value
|
· Condition - select a form and a field in the selected form
· Output - select the text to be displayed when the condition is met
|
|
Note: This condition is only functional if custom forms are available in your product, such as Tax forms.
|
- You can add more than one condition type to trigger additional text outputs. To add another condition, select Add Condition.
- You can also optionally specify an alternate output for the text if no conditions are met.
5. Once you’re done, select Save.
- If a condition (or conditions) is met, the corresponding output text you specified for that condition displays.
- If no condition is met, the alternate text output (the one you specified for when none of the conditions are met) displays. Otherwise, #ValueEmpty# displays.
Once you have finished changing the content in your client request, select the Edit icon at the top of the document to save your changes.
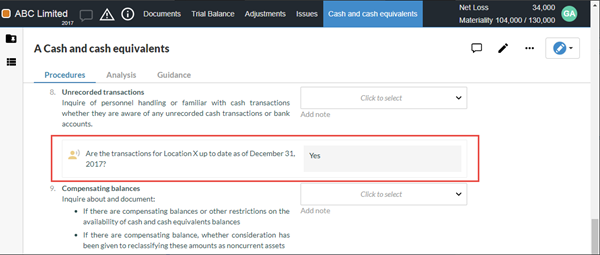
Often, you must ask your client questions to complete checklists. You can link these questions to the corresponding query questions. After your contact responds, that response is displayed near the checklist procedure.
- Select the more actions icon (
 ), then choose Link to Checklist.
 - In the Link to Checklist dialog, select a checklist document in the engagement file, then select the corresponding procedure from that checklist.
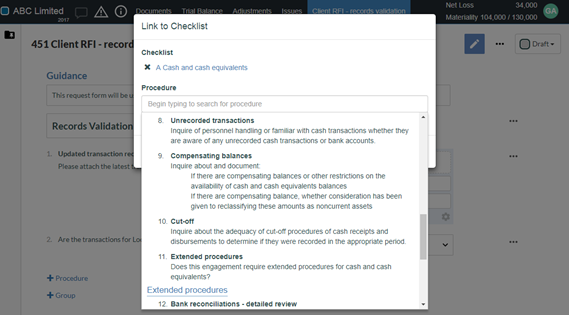
- Click on Save. You can see the client response in the relevant checklist after staff have accepted it.
|
Note: You can only change an existing glossary term or a dynamic text output if this option is enabled in your product.
|
- An engagement glossary contains terms. Terms are words and phrases that can be reused throughout the product. When a term is changed, it is changed everywhere the author defined.
- Dynamic text fields change if certain conditions are met. For example, if the client responds ‘Yes’ to a procedure in a checklist, then ‘Agreed’ shows in the dynamic text field.
- Your documents may contain terms from the glossary or dynamic text fields. Depending on your product, you may be able to override glossary terms and dynamic text outputs.
To change an engagement glossary term or a dynamic text output:
- Select the document’s text area where you want to change.
- Areas highlighted in gray are either glossary terms or dynamic text fields.
- Select the glossary term or dynamic text to open the Data Link dialog. If you select a glossary term, you can select information to see the number of places that term is used.
- Change the Output as desired and select Save.
When the Output condition is met, the text changes in all the places it’s used in the engagement. If a different condition is met after the change, the Output changes to match the configured output text for that condition.
Working Papers (WP) users can automatically pull files uploaded in query documents and save them in designated folder locations in the WP file. To support this integration, you need to add internal identifiers in your query document - known as Author IDs.
|
Note: You can only add an author ID if you are customising the firm template. To access the firm template, you must have the Settings Admin role or similar. See Manage the Firm Template for information on how to open and edit the firm template.
|
Here is a brief description of the workflow:
- Set an Author ID value for one or more response.
- Working Papers authors must use the same ID when setting up a location in WP to receive files from a query document.
- Once a file is uploaded and accepted in the query document, WP users can click the Receive button to automatically pull the file to its designated location in the Document Manager.
|
Note: You must collaborate with WP authors to decide where to add the Author IDs. You must also share the Author IDs with WP authors so they can perform the necessary setup in the WP template.
|
- Select Edit.
- Go to the query you want to add an Author ID to one or more of its responses.
- Select More actions | Settings.
- Enter an Author ID for one or more responses.
|
Tip: You can also generate an author ID automatically by selecting the Add ( ) icon that displays in the Author ID field once you select it. ) icon that displays in the Author ID field once you select it.
|
- Share the Author IDs with the Working Papers (WP) authors so they can perform the necessary setup in the WP template.
Rate this article:
|vote=None|
Processing...
(Popularity = 0/100, Rating = 0.0/5)
Related Articles
Cloud App | Creating a client request (Query) from an engagement
ISRS Agreed Upon | Product Information
Cloud App | How to customise display options, formatting and settings for your firm template
ISRS Agreed-Upon | Latest release
view all...
Search Results
Changing Client Signers on Forms
How do I know the client signer has authorized the auditor to send requests? (New Version of Confirmation)
Adding Financial Forms to a Client Profile
Can I add different authorised signers to different forms?
I can’t request authorisation from a client signer as the name is greyed out (cannot be selected)?
view all...