How to automatic Rounding?
Instructions:
Switch on the Automatic Rounding
A difference of less than the rounding limit is most likely due to rounding differences:
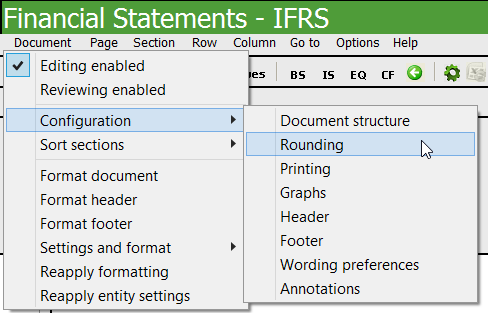
Step 1 – From the Freeze Pane menu, select Document | Configuration | Rounding to switch on the Automatic Rounding and to set the rounding limit.
Step 2 – From the Rounding dialogue, select the following:
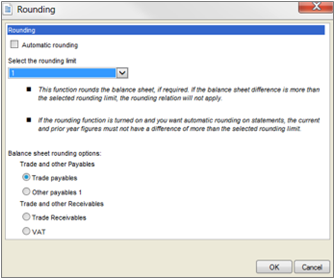
Step 3 – Select the Automatic Rounding tick box to activate the rounding.
Step 4 – Select the rounding limit to apply to the balance sheet. The rounding limit should always be higher than the actual rounding difference. If the rounding difference is higher than the rounding limit, the automatic rounding will not apply. The user will need to change the rounding limit should he/she wish to round the balance sheet.
Step 5 – Select the line item where the rounding difference should be added to. An indicator will appear above the amount in the note to indicate that the rounding difference was applied to the specific cell.

Rate this article:
|vote=None|
Processing...
(Popularity = 1/100, Rating = 0.0/5)
Related Articles
Firm Template | AFS Page - Settings and format
How to save automatic documents in excel and directly into the document manager
Firm Template | Configuration Footer
Firm Template | Format Document
view all...
Search Results
How do I locate past confirmations?
What does the Confirmation Control Log Report provide?
Retrieving Completed Confirmations
What billing methods can I use to pay for confirmations?
Confirmation Billing Guide (Effective 1 Nov 2025)
view all...