Steps on how to customise your firm template's general information page.
Instructions:
This article will cover the following topics:
- Use the Other sections given at the bottom of the General Information page.
- Additional information can be added to the General Information by adding a new section:
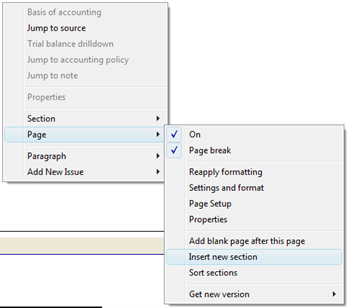
- Right-click anywhere in the General Information section.
- From the right-click context menu, select Page | Insert new section.
- A new section of input cells will be inserted at the bottom of the General Information called Other Information.
- Insert the information by typing in the input cells.
 Line items in General Information can be sorted into an order of preference.
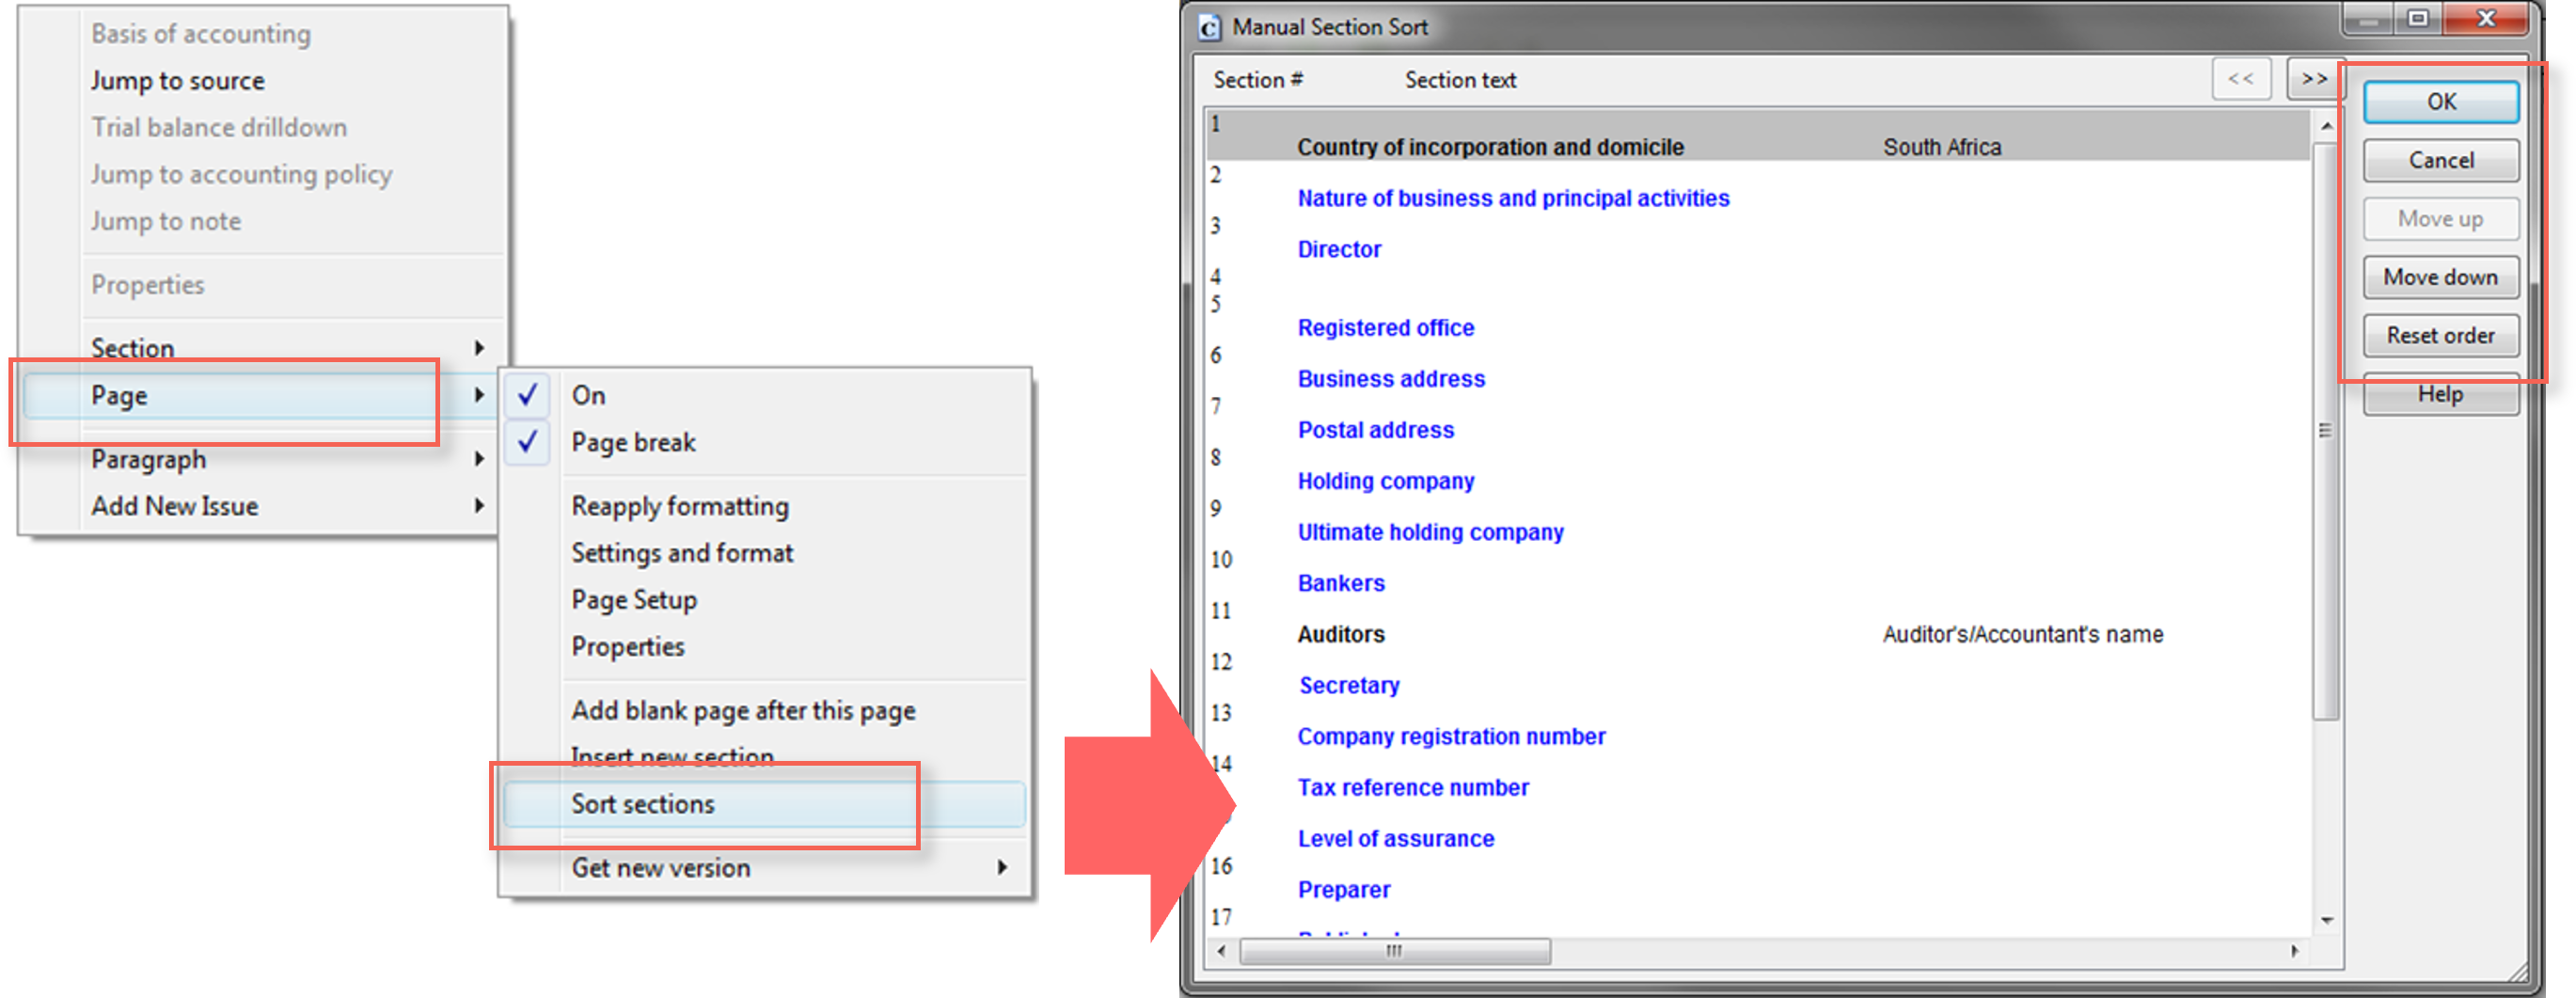
- Right-click anywhere in the General Information section.
- From the right-click context menu, select Page | Sort sections.
- The Manual Section Sort dialogue will open.
- Click on the items that should be moved and use the Move up and Move up buttons to move them into the desired order.
- To reset the order, click on Reset order button.
- Click on the OK button to close the dialogue.
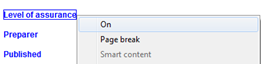
 The level of assurance, preparer’s details as well as the published dates has also been added to show on the General Information page if desired. Right-click on the relevant heading and select On to show the details on the General Information page.
Rate this article:
|vote=None|
Processing...
(Popularity = 0/100, Rating = 0.0/5)
Related Articles
Cloud App | How to manage the firm template
Confirmation Billing Guide (Effective 1 Nov 2025)
How to create a new file for your firm template
Information & Resources on staying connected digitally to Confirmation
view all...