How to use Easy Extract in Caseware IDEA
Instructions:
Easy Extract
Use Easy Extract to extract data from any accounting information system that uses a SQL database. Examples include Sage 300 and Syspro. This extracted data can then be easily imported into Caseware IDEA® using Easy Import.
If your client already sent you the backup of the SQL database you can follow these steps to restore the database and then you can execute Easy Extract on that restored SQL database.
We have made the extraction of data as easy as possible.
All that needs to be done is to point Easy Extract to the SQL database.
It will extract the data and put it in a zipped folder which can then be imported into Caseware IDEA®.
The steps to follow in the blocks below are detailed:
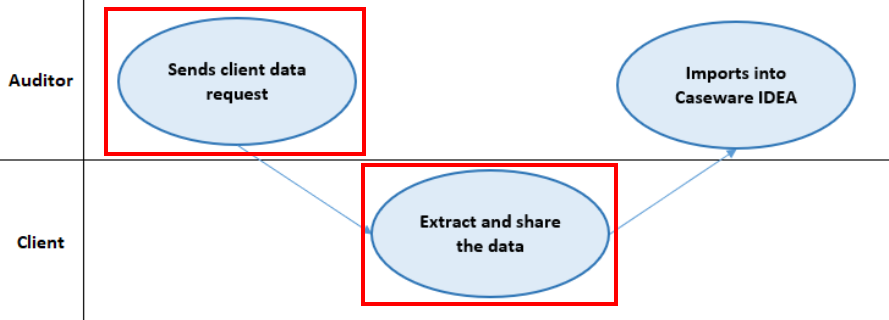
Send client data request.
-
Ask your client to extract the data from any SQL database e.g. Syspro, Sage 300, etc.
-
Provide your client with instructions in the paragraph that explains how to download and use Easy Extract.
-
Our suggested method of requesting the data from your client can be found here.
Extract and share the data.
-
Download Easy Extract here: Easy Extract.
-
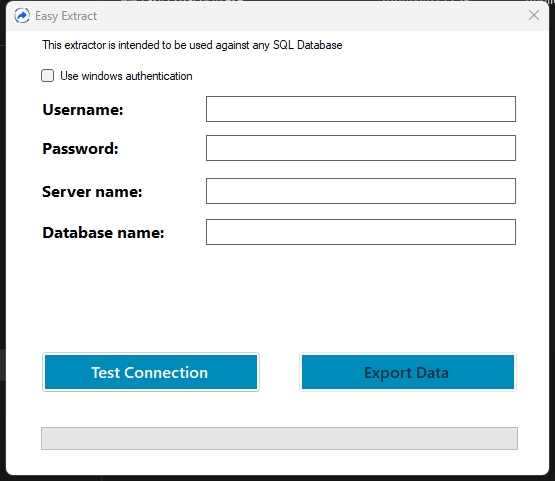
Double-click on Easy Extract to run it and you should see the following screen:
-
Complete the required fields.
If “Use Windows authentication” is ticked, then a username and password do not need to be provided.
-
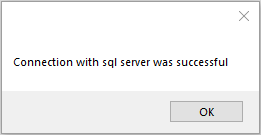
Click on “Test Connection”
If the connection is successful, you will get the following message:
-
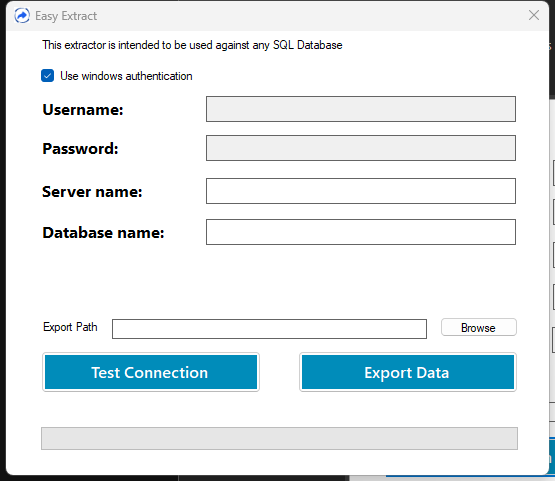
You will be presented with additional fields to complete:
-
Click “Export Data”
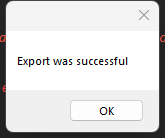
Easy Extract will create CSV files of the SQL database. The extracted files will be zipped in a folder called “SQL Extract\NameOfCompany.zip. This file can then be imported into IDEA using Easy Import.
The extractor will show the following message when completed.
If running the tool on a live database, please run it at an appropriate time to not affect the speed of other users on the system.
Please ensure there is enough space available on the drive for the extracted files.
-
Share the extracted zip folder with the auditor.
The zipped folder of data can be found in the “Export Path” selected above.
Our suggested method of sending the data to the auditor can be found here.
You may also refer to our detailed user guide for additional information and steps on how to use the easy add-ons here.
Rate this article:
|vote=None|
Processing...
(Popularity = 1/100, Rating = 0.0/5)
Related Articles
Easy Extract and Import Overview
Easy Add-ons User Guide
Easy Import
Easy Integrate
view all...
Search Results
Changing Client Signers on Forms
How do I know the client signer has authorized the auditor to send requests? (New Version of Confirmation)
Adding Financial Forms to a Client Profile
Adding Client Signers
I can’t request authorisation from a client signer as the name is greyed out (cannot be selected)?
view all...